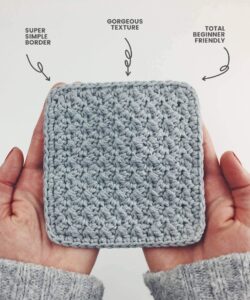
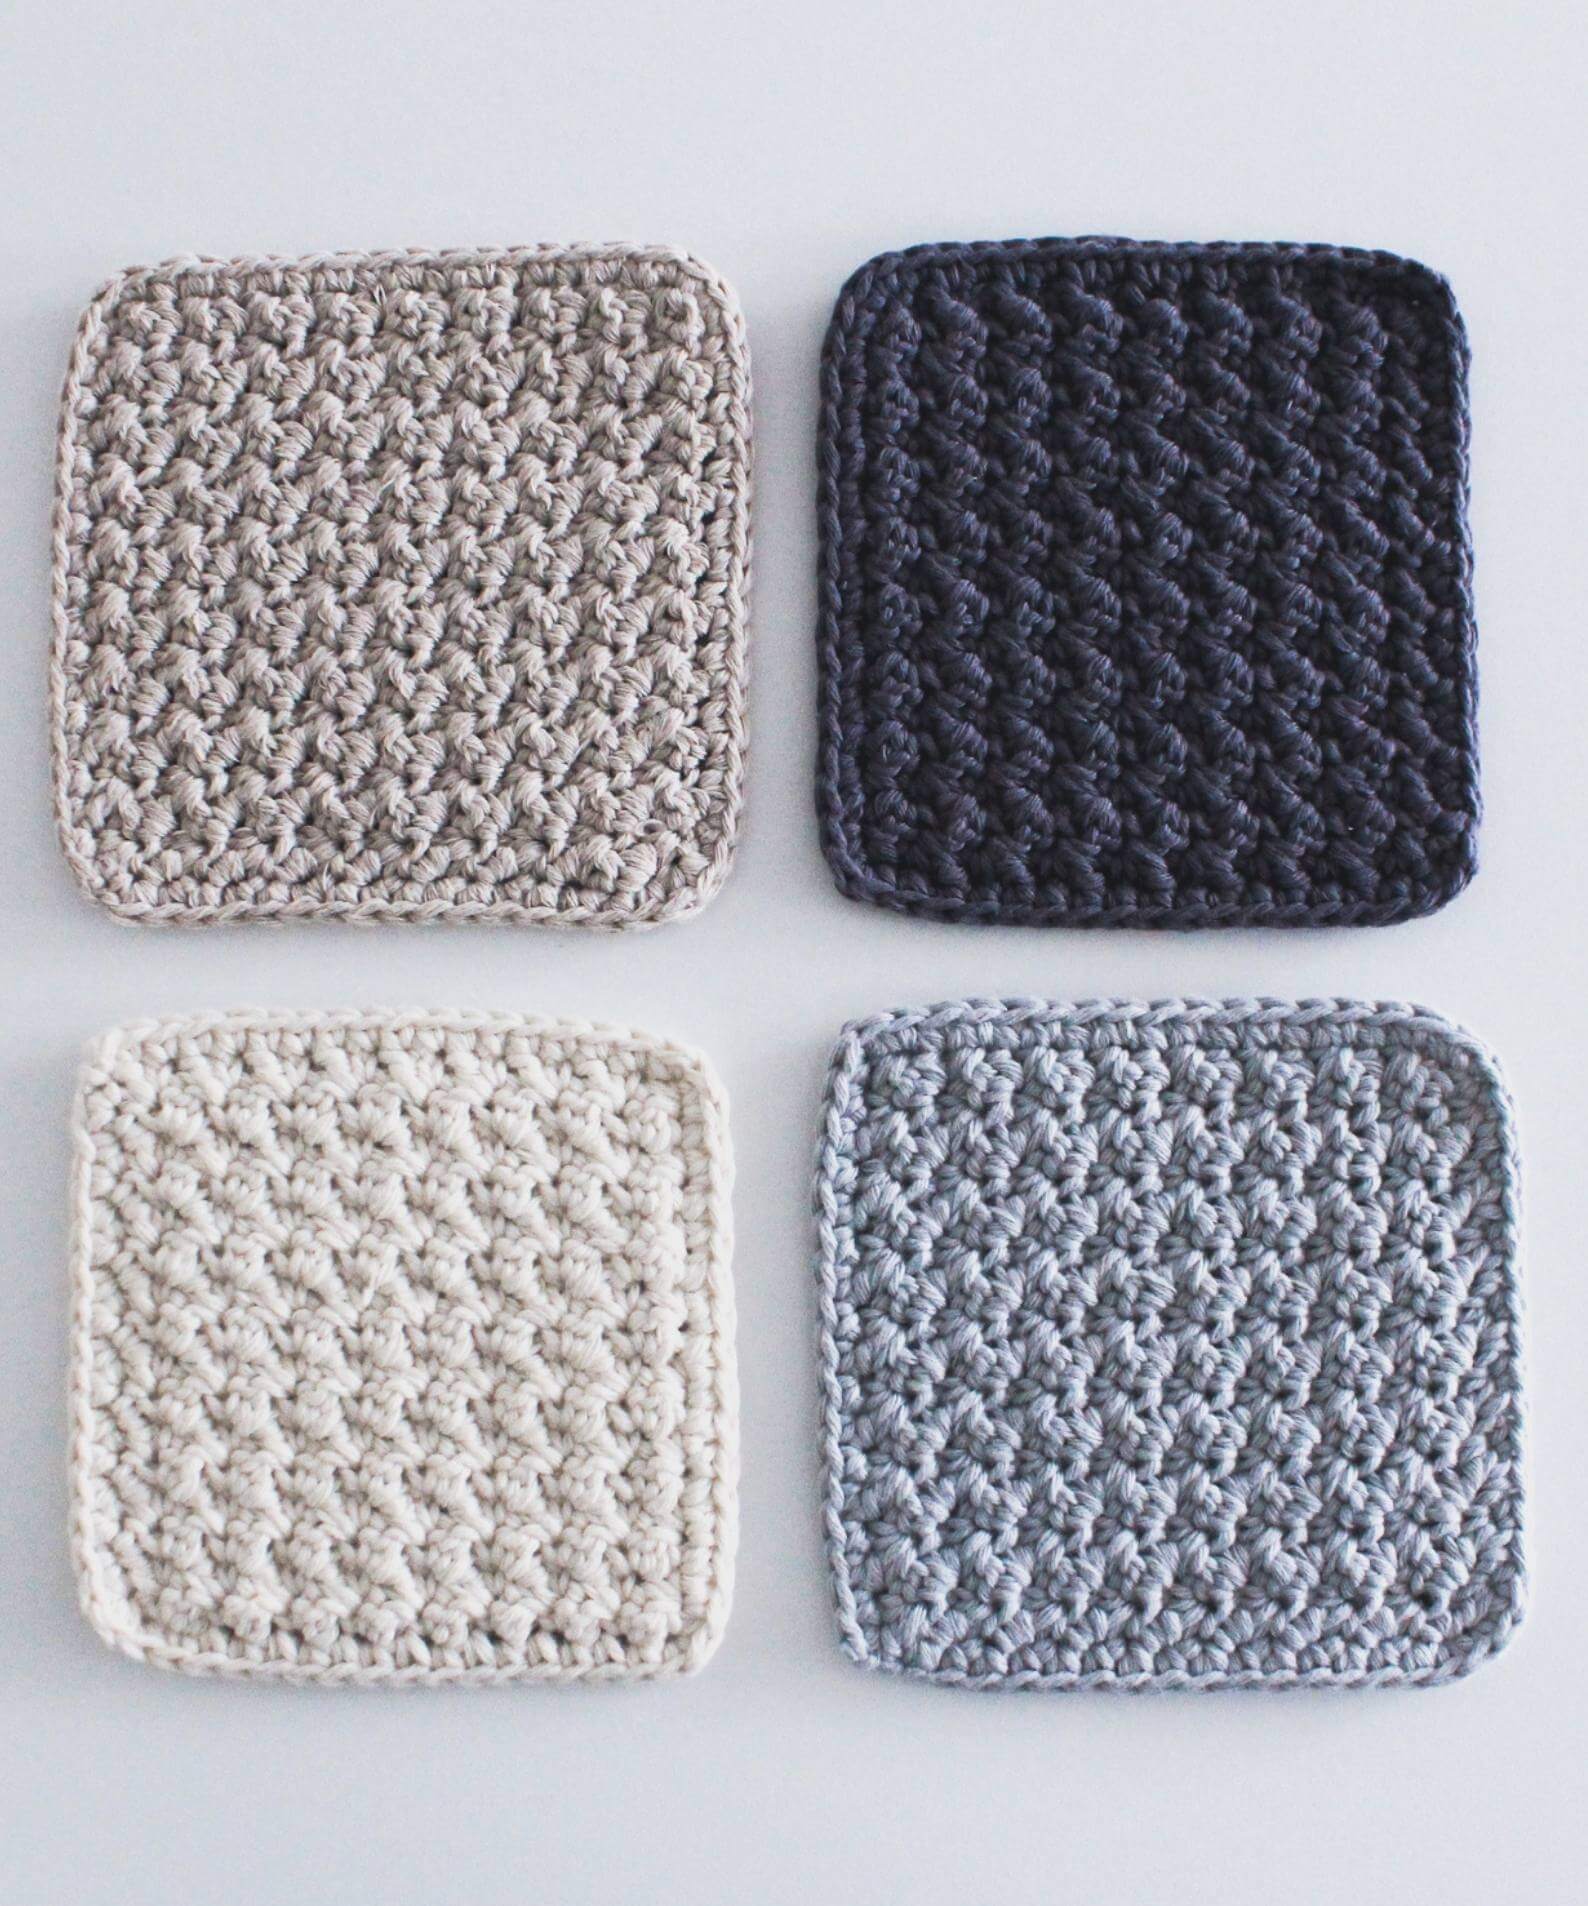
These easy, quick, beginner crochet coasters forego NOTHING on the style front. With their simple, gentle texture, minimal border and soft square shape, they’re easy on the eye but get this… they’re crazy practical too!
By using 100% cotton yarn and a smaller hook than the label asks for, we compact the stitches, making the coasters extra sturdy and absorbent. If you’re careful and thorough when you’re weaving in the ends, you can make them reversible and washable too.
A bit more about the yarn-hook combo
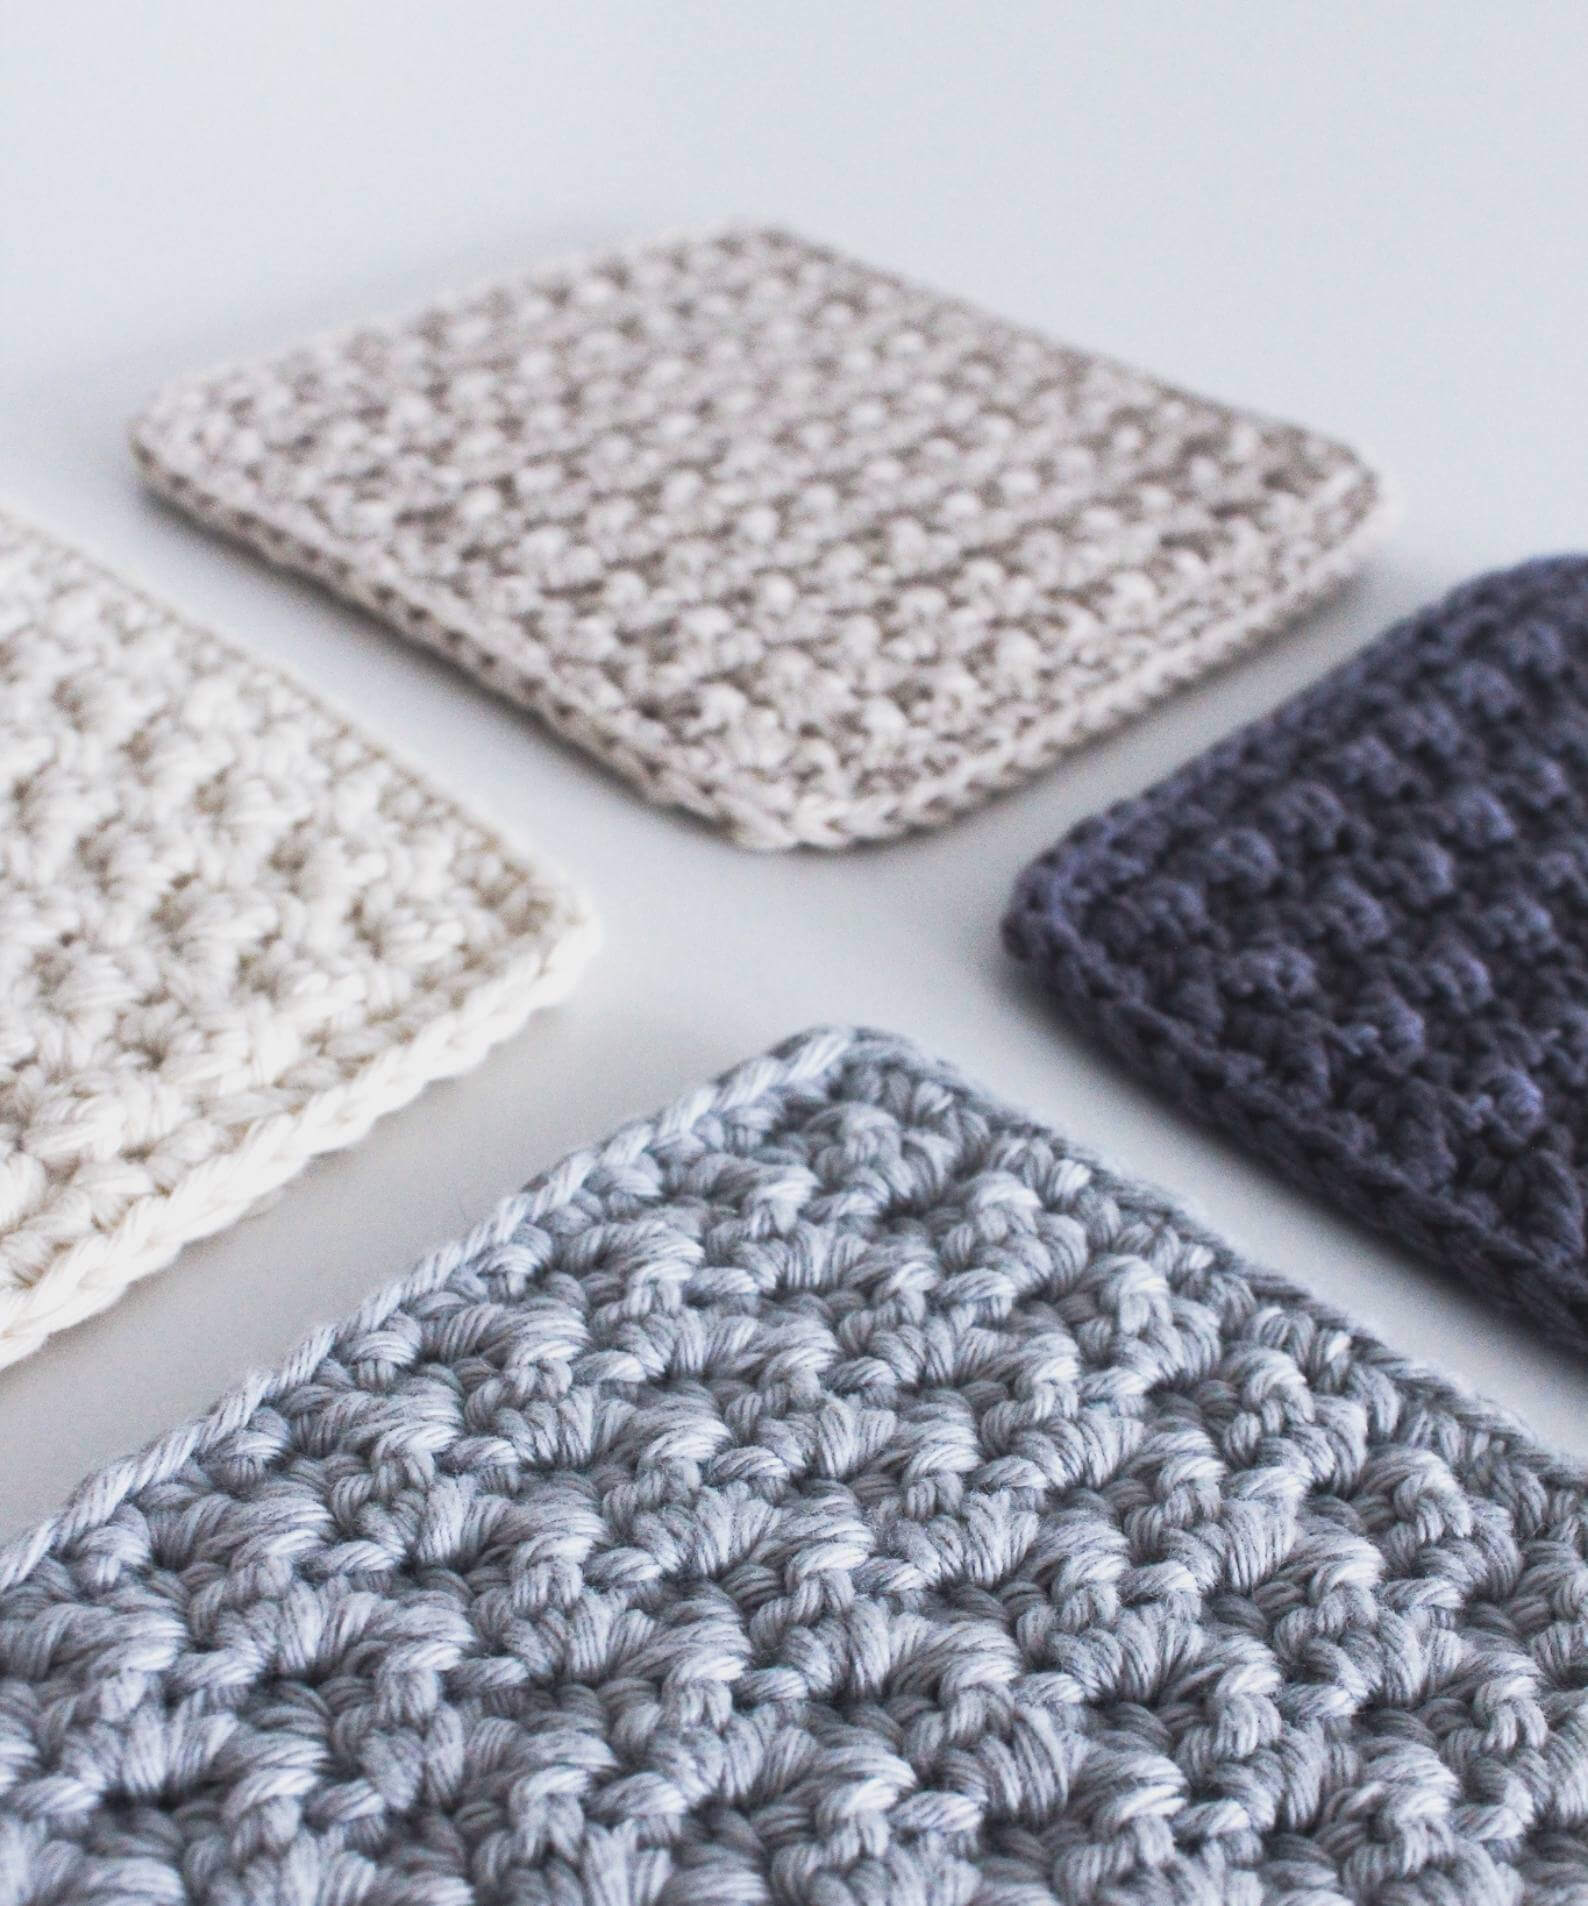
The luxury of these coasters comes from using that gorgeous, naturally strong but soft fibre; cotton. You really can’t beat it for makes that need to be hard-wearing but also dreamily soft. Cotton absorbs moisture really well too so is a great coaster candidate, ready willing and able to soak up your coffee and tea drips (or condensation from an ice cold beer).
It can be a bit tiresome going down a hook size (sorry wrists) but I really think it’s worth it for this project. By bringing our stitches closer together not only do we create more lush texture, we also make our coasters better at being coasters. Who wants leaky coasters? With that said, if you do want to proceed without sizing down, you’ll still have lovely drink mats as well as grateful joints and slightly larger finished coasters.
Shopping links:
The Crochet Stitches + Techniques You’ll Need
dc – double crochet (US single crochet) : insert the hook, yarn over and pull through a loop. You’ll have two loops on your hook. Yarn over and pull through both loops.
You can click on the stitch name to view a video tutorial of the technique.
Some notes before you begin making your coasters
This free pattern here on the Sarling Studio blog is a sample of the full PDF pattern available here. The full pattern;
- can be downloaded in UK or US crochet terms
- includes detailed step by step pictures
- has a link to a full video pattern tutorial
- can be purchased on Etsy or on Ravelry if you prefer
On top of all those delicious bonuses, every purchase not only makes my heart jump for joy but also gives a gift of joy to children in need!
Additional Useful Pattern Info
- Just in case you missed it above, this blog pattern is written in UK crochet terminology.
- For the sensible among us: gauge is 10cm x 10cm = 10 stitches x 15 rows.
- With matching gauge, coasters measures 12cm x 12cm.
- As detailed above, I recommend sizing down a hook for this project.
- In the pattern table below, the column on the right is the number of stitches each row should have. Where more than one row is listed together (e.g. Rows 3- 17) each row has that same stitch count, it is not a cumulative total!
- We’ll never work into the turning chains, and we don’t count them in the stitch rows.
- When completing your suzette stitches you should be placing the stitches into the (tighter) double crochet loops from the row below, and skipping the trebles. (Don’t worry if this sounds confusing, if you follow the pattern, you’ll be doing it right!)
- Depending on your yarn and gauge, you may need fewer (or more) than the stated 18 rows to make your coaster square. Keep checking as you go by folding your work in half (e.g. bottom left corner to top right corner) to see when your edges line up. Then simply work row 18 whenever it will complete your square.

Lugn Coaster Crochet Pattern
| Foundation | Begin with a chain of 18. | 18 |
| Row 1 | Turn the work and dc into second chain from hook (stitch 17 in your starting chain). (dc1 and tr1 into next stitch, sk1) 8 times. Dc1 into last stitch in row (note: this dc means you miss the last skip in the 8th suzette repeat). Ch1 turn. | 18 |
| Row 2 | Dc1, sk1, (dc1 and tr1 into next stitch, sk1) 8 times. Miss the last skip and dc1 into last stitch in row. Ch1, turn. | 18 |
| Rows 3 – 17 | Repeat row 2.* | 18 |
| Row 18 | Repeat row 2, but at the end of the row, dc2 into the final stitch. | 19 |
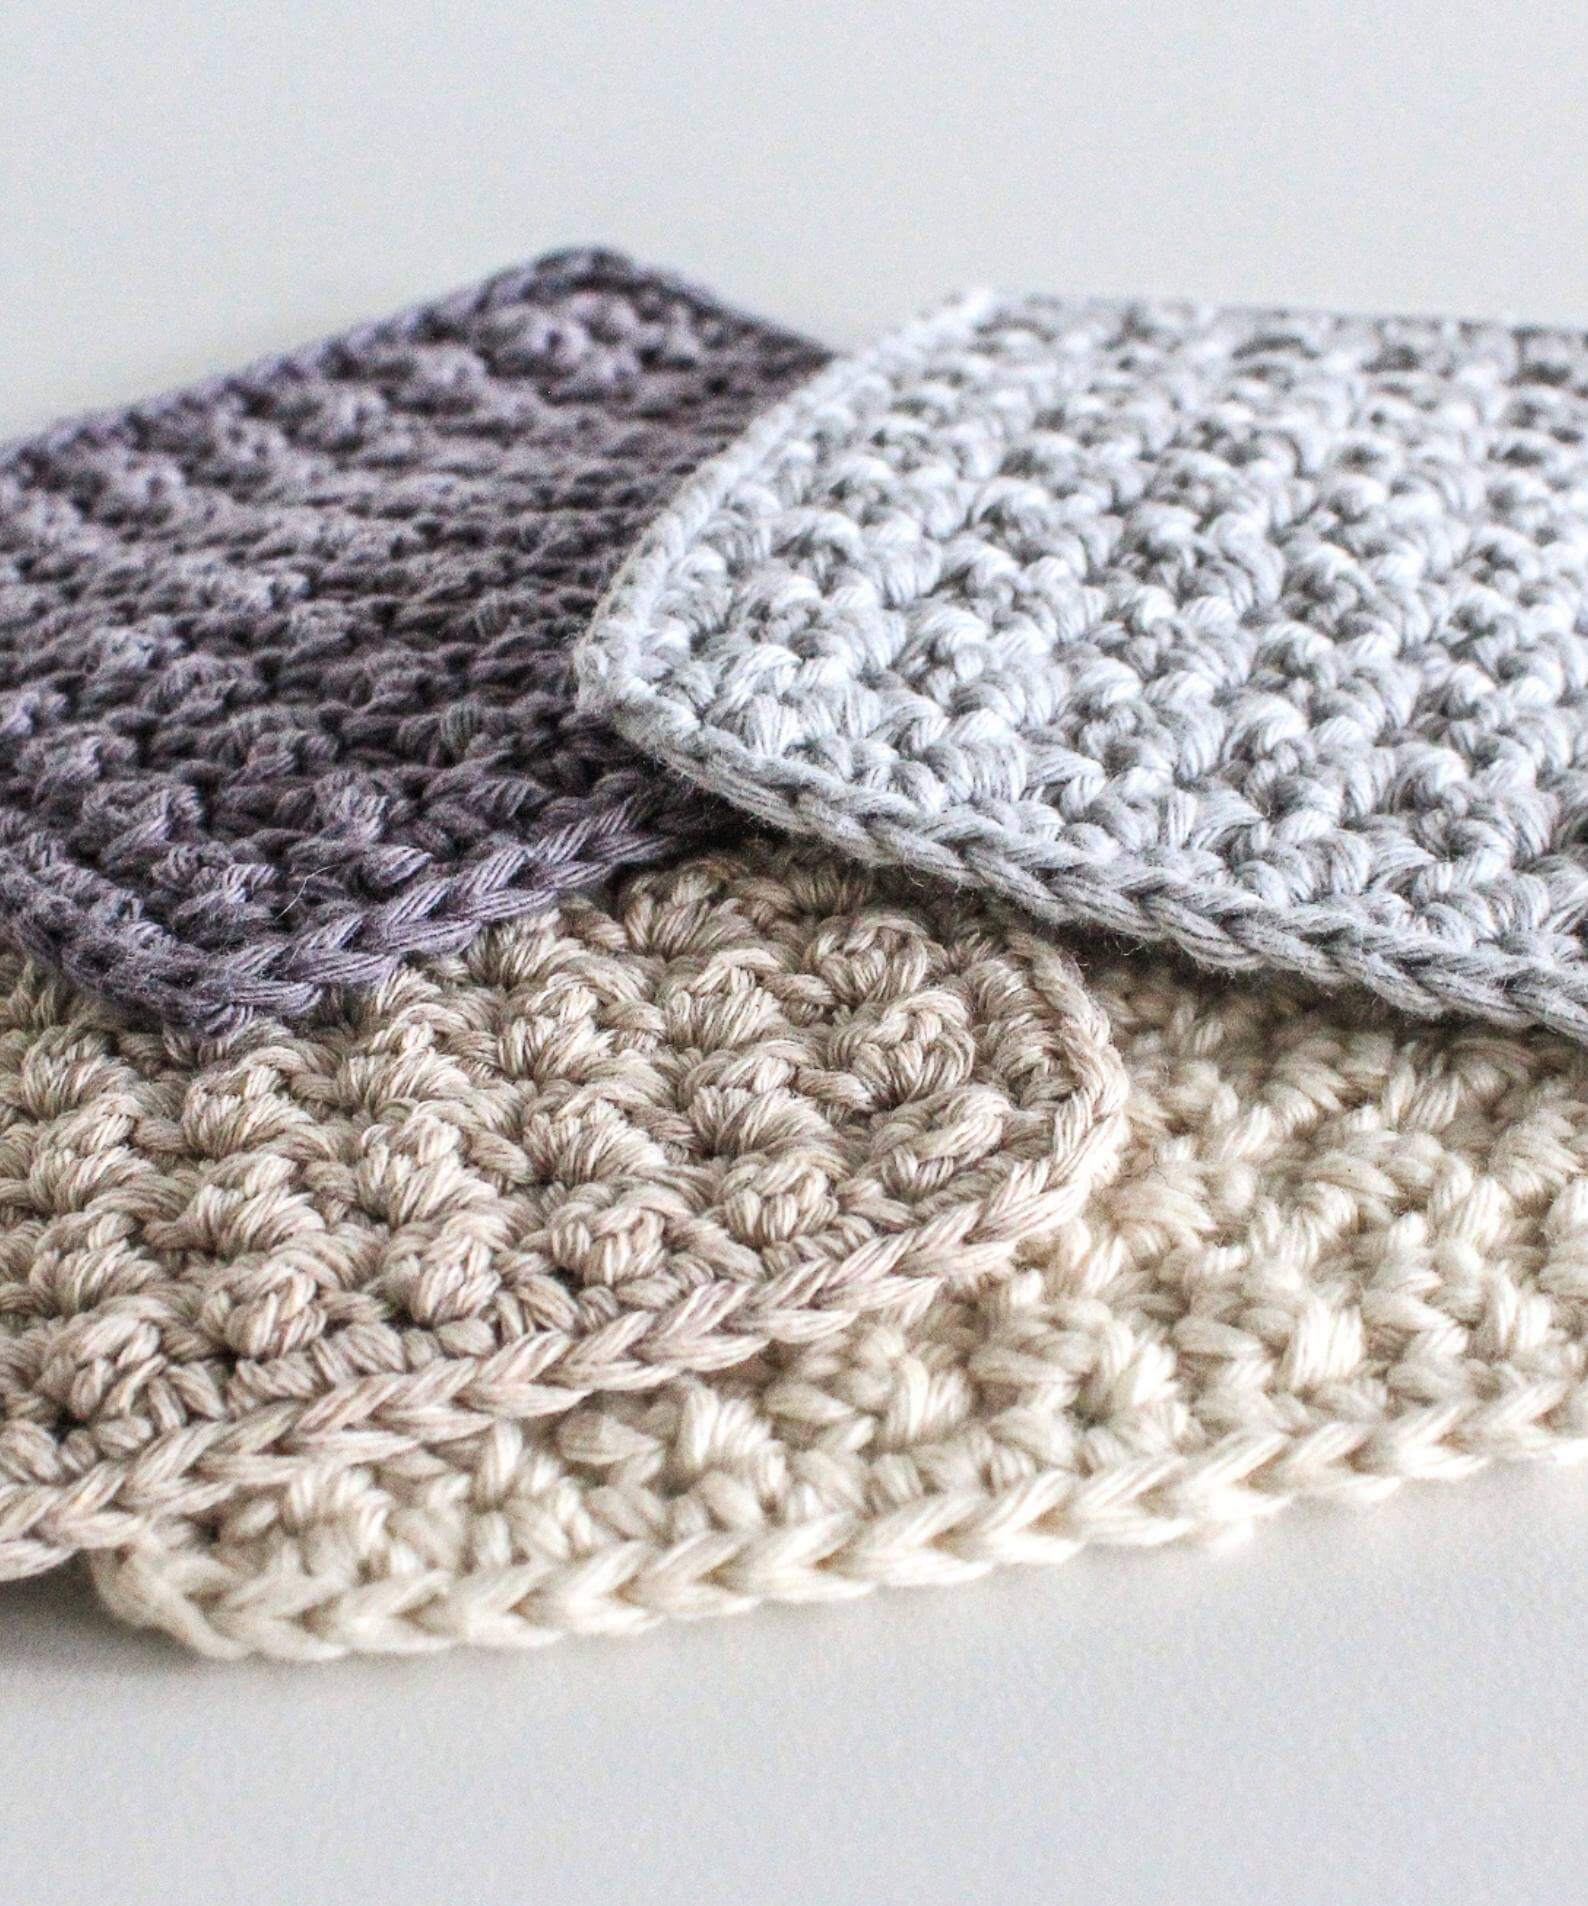
| Finish | Continue to dc all the way around, dc2 into each corner, creating a nice border for your square. Tip: as you stitch around, you can weave in the tail from your starting chain, placing the tail in the middle of your dc’s. Fasten off when you dc into the final stitch of row 18, leaving a little tail. Pull the yarn through the loop to make a knot, then sew the tail into the next stitch, working to blend the edge in, before weaving in the rest of the tail (try to do this invisibly to make your coaster reversible). | |
| * As per the measurements notes above, depending on your gauge, you may find you need to alter the number of rows to create a square. Keep checking as you go by folding your work in half, bottom right corner to top left corner, to see when your edges line up. Simply work fewer or more row 2 repeats as required, and work row 18 when it will complete your square. | ||
Did you enjoy this pattern?
If so, I’d love you to tag me on Insta to share your work with me! @sarling.studio
Or even better, head here to do some feel good shopping, supporting my work AND my wonderful partner charity.
Written by:
Melanie Sarling

SAVE + SHARE
Found this article helpful?
Share with your friends or save it for later.
SIGN UP FOR GLEE-MAIL
More good stuff, delivered to your inbox
Join the mailing list for great content from the blog, updates on pattern releases, a few humble promotions and the occasional lovely offer.