
The Lisi Wrap Scarf - Crochet Pattern
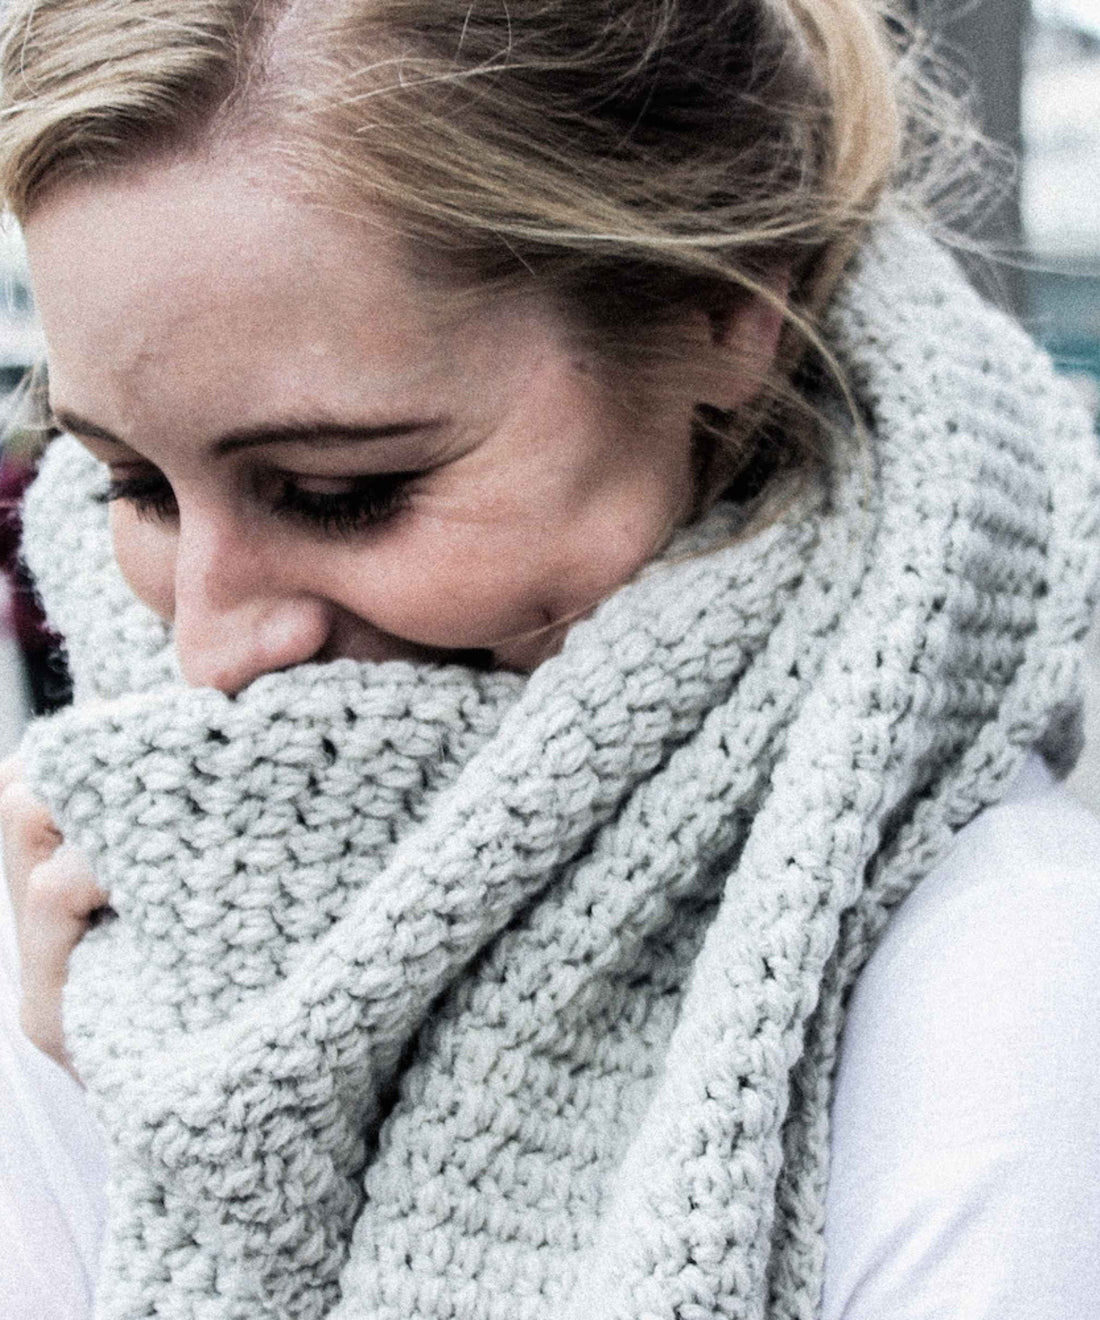
If you’re looking for a soft, squishy, simple and stylish wrap scarf you can make meditatively in front of your fave show, allow me to introduce you to Lisi.
As a giant triangle wrap scarf is probably the most luxuriously cosy creation you can make, I think you should settle down with a hot choc (with cream and marshmallows) while I walk you through the nuances of this project.
Before you hide behind a cushion (or navigate away from this tab) let me reassure you that this is an easy, beginner pattern with just a couple of things to wrap your head around (pun very much intended). Pay attention to the notes of the pattern and you’ll be grand.
First, let’s talk yarn, hooks and colour combos
The yumminess of this wrap scarf comes from both the yarn and the stitches.
On the yarn front, choose yourself a natural wool, ideally with some alpaca for softness. I used 100% sheep wool and while it has created a gorgeously warm scarf, it lacks a little on the softness front. On this project, I’d say it’s worth the extra cash per ball to have some glorious alpaca in there.
As for the stitches, first go down half a hook or a full hook size, to keep them cosily condensed. Then, from row 2 onwards, drop down and work them between the stitches in the row below. By not working into the top of the stitches, and instead working between them, we create a more dense fabric. It feels and looks luxurious and disguises the gaps associated with crochet for more of a knit-look.
There are no colour changes in the body of the wrap scarf and so I’ve opted for contrast tassels. You will probably already have your main colour in mind (if not, I recommend your fave colour or the colour most people say suits you). But adding the pop of colour to the points of the triangle can be a trickier choice. To put your mind at ease, there’s really no wrong choice. Choose a colour to compliment (next to each other on a colour wheel) or contrast (opposites on a colour wheel) OR just choose another colour you like that makes you happy.
And of course, you can always have tassels the same colour as the body of the scarf if you want OR three different colour tassels – you do you!


The materials you'll need to make your wrap scarf
Some links are affiliate, meaning I may make a small commission if you make a purchase, but this is at no cost to you.
- 550g aran weight wool in colour A (grey pictured)
- 40g aran weight wool in colour B (pink pictured)
- 4mm crochet hook– or correct size for gauge (see pattern notes)
- Tapestry needle
- Stitch Markers
- Scissors
- Hardback book for making the tassels
The crochet stitches + techniques you’ll need
If you're a total beginner to crochet, you may like to check out my Getting Started playlist. It's designed to show you the absolute basics to get you going with any project.
Please note this blog uses UK crochet terminology.
Click on the stitch name to view a video tutorial of the technique.
tr2tog - yarn over, insert the hook and pull through a loop (3 loops on your hook), yarn over and pull through two loops (2 loops on your hook). Yarn over and insert the hook into the next stitch and pull through a loop (4 loops on your hook). Yarn over and pull through two loops (3 loops on your hook) then yarn over and pull through all three loops.
Some notes before you begin making your wrap scarf
This free pattern here on the Sarling Studio blog is a sample of the full PDF pattern available here. The full pattern;
- can be downloaded in UK or USA crochet terms
- includes detailed step by step pictures
- is currently exclusively available here at sarling.com!

Useful pattern info
- Just in case you missed it above, this blog pattern is written in UK crochet terminology.
- In the pattern below, the number in brackets is the number of stitches each row should have. We do not count turning chains.
- The pictured Lisi wrap scarf was made using aran weight yarn (100% wool), which says to use a 5mm hook, but I used a 4mm hook to keep the stitch close and compact
- Pattern uses shorthand where "2 tr" means work a treble into each of the next two stitches, and "tr2" means work two treble stitches into the same space.
- To build the triangle shape we will increase and then decrease along one edge of our work, while the other edge we’ll build straight
- From row 2 onwards, we’ll work our treble crochets into the space created between the stitches in the row below, rather than into the top of the stitches
- Even rows always end by working into the top of the turning chain from the row below
- Odd rows work increases into the turning chain of the row below, but do not work decreases into turning chains
Triangle Wrap Scarf Crochet Pattern
If you skipped straight here, I applaud your confidence and feel I should let you know this pattern is written in UK crochet terms. You will also want to read the pattern notes just above these images before you begin for details about shorthand and stitch placement.
–
Foundation: Ch3, work one tr into 3rd ch from hook. ch2 turn. (1)
Row 1: Tr, tr2 in top of turning ch. ch2 turn. (3)
Row 2: Note that from here on, we’ll work trebles between the stitches of the row below.
Tr2 in first stitch, 2 tr. ch2 turn. (4)
Row 3: 3 tr, tr2 in chain space. ch2 turn. (5)
Row 4: Tr2 in first, 4 tr. ch2 turn. (6)
Row 5: 5 tr, tr2 in chain space. ch2 turn. (7)
Row 6: Tr2 in first, 6 tr. ch2 turn. (8)
Row 7: 7 tr, tr2 in chain space. ch2 turn. (9)
Row 8: Tr2 in first, 8 tr. ch2 turn. (10)
Row 9: 9 tr, tr2 in chain space. ch2 turn. (11)
Rows 10 – 77: Continue to build your triangle in this way, starting each even row and ending each odd row with tr2. (12-79)
Row 78: tr2tog, 77 tr. ch2 turn. (78)
Row 79: 76 tr, tr2tog. ch2 turn. (77)
Row 80: tr2tog, 75 tr. ch2 turn. (76)
Row 81: 74 tr, tr2tog. ch2 turn. (75)
Row 82: tr2tog, 73 tr. ch2 turn. (74)
Row 83: 72 tr, tr2tog. ch2 turn. (73)
Row 84: tr2tog, 71 tr. ch2 turn. (72)
Row 85: 70 tr, tr2tog. ch2 turn. (71)
Row 86: tr2tog, 69 tr. ch2 turn. (70)
Rows 87 – 154: Continue to decrease your triangle in this way, starting each even row and ending each odd row with tr2tog. (69 – 2)
Row 155: tr2tog. (1)
Finish: Fasten off and weave in all ends. Make 3 tassels and attach one to each corner of your triangle scarf.
Did you enjoy this pattern?
If so, I’d love you to tag me on Insta to share your work with me! @sarling.studio